Chapter 3
Doll’s Hood to Little Red Riding-Hood
This requires two yards of round web.
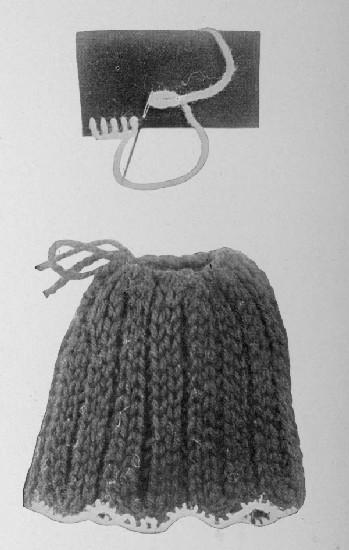
Start with the end of the web and sew into a circular form for the crown. (See illustration A.) The sixth row is brought down to within one inch of the center of the back. Turn and sew around to within one inch from the center of the back on the opposite side. This will leave two inches free in the back of the hood. Turn and continue sewing in this way for five rows, which will form the side of hood.
The remaining part of the web is then brought around the face of the hood and across the back, as one would sew a cord.
Finish with cord and tassel for tie-strings. A rosette of yarn may be made for the top or side.
Doll’s Coat or Jacket
This may be made of round or flat web.
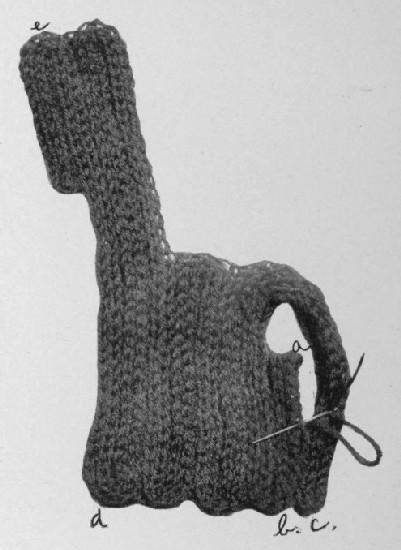
The coat is begun at the under-arm seam a. For a coat five inches long begin three inches from the end of the web to make the first turn. Sew from this turn to the starting end of the web b, fasten the sewing thread and cut it off. The second row is made eleven inches long, or long enough to go over the shoulder and down the back, b to c.
Sew four rows in this way to form the front and part of the back; then four rows five inches long for the back; then four more rows eleven inches long for the other shoulder and front d to e. Sew the fifth or last row up three inches for the other under-arm seam.
Join the under-arm seams, leaving an opening of two inches for sleeves if they are desired. If not, the armhole and neck can be finished off with some contrasting color.
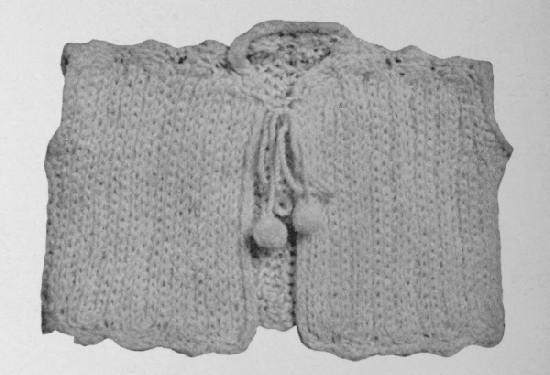
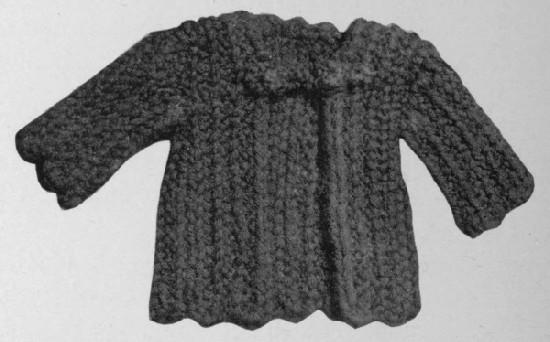
For the sleeves, measure the length of the doll’s arm and make the first row this length. Make each row a little longer than the preceding row until the top or shoulder part is reached, then gradually shorten each row until the desired width is obtained. The last row should be the same length as the first row. When sewing them in the coat, have the longest part come at the top of the shoulder. Buttons are made by braiding yarn and sewing it in the form of buttons.
A cord for fastening is made by braiding, or twisting and folding the yarn. It is then sewed into loops or used as cord and tassel for tying.

Bootees
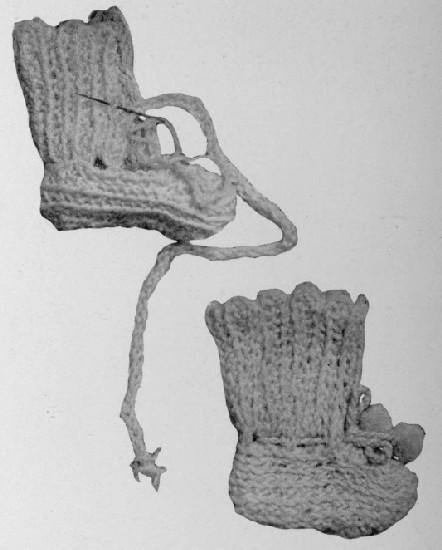
Knit two yards of round web for each bootee.
Start two inches from the end of the web for the first turn. Sew into an elliptical form three and one-half inches long for the sole. Sew two more rows without widening for the sides of the foot; then sew two rows across the front for the toe; the third row bring all around the top to complete the foot.
The leg of the bootee is made by bringing the web directly upward three inches before making the first turn. Make each row three inches high and catch each row into the top of the foot while sewing. Put cord and tassel around where the leg and foot meet.
Little Boy Blue
Make coat according to directions given for doll’s coat.
Measure the length of the doll’s leg for the length of the trousers. Use flat web and sew it into two rectangular pieces wide enough to make each leg a little full.
Join the inside seams part way and then join the open edge of the right front with the open edge of the left front. Do the same with the back edges. Put a draw-string around the top, or a piece of the web may be used for a waistband. Put in a draw-string around the bottom of each leg.
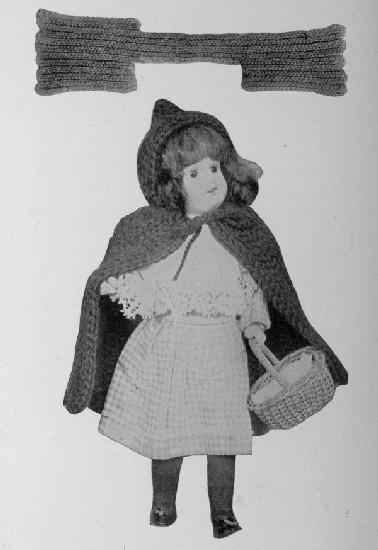
Little Red Riding-Hood
The doll shown in illustration is ten and one-half inches tall. To make cape and hood in one piece sew two rows of flat web, six and one-half inches long, for the center of the back. These two rows will also give the desired fulness. The next five rows are made nineteen inches long, or long enough to reach over the head and down to form the two sides of the cape and hood. After these five rows are completed, sew five rows six inches long on each side of the front of the cape, to make it wide enough to meet across the chest.
Close the cape and the hood in the back. The part above the six and a half inch rows will form the hood. Draw in the top of these two short rows and sew to the base of the hood. Put in a draw-string around the top of the right side of the cape in front, carry it around the base of the hood, around the top of the cape on the left side and tie in front.
Reprinted from Spool Knitting, by Mary A. McCormack (1909). Free for personal use. Please share a link rather than copying this page.